From Meh to Marvellous: 9 Top Quilting Tips for Better Piecing
Mastering the Art of Quilting: 9 Essential Piecing Tips
Ever find yourself wondering why your piecing isn’t turning out as perfect as you'd like? Don't worry, I’ve been there too. Piecing is a sneaky little skill that can make or break your quilt. Today, I’m here to share some great tips so grab a cuppa, settle in, and let’s get into the nitty-gritty of upping your piecing game.
Starch Your Fabric
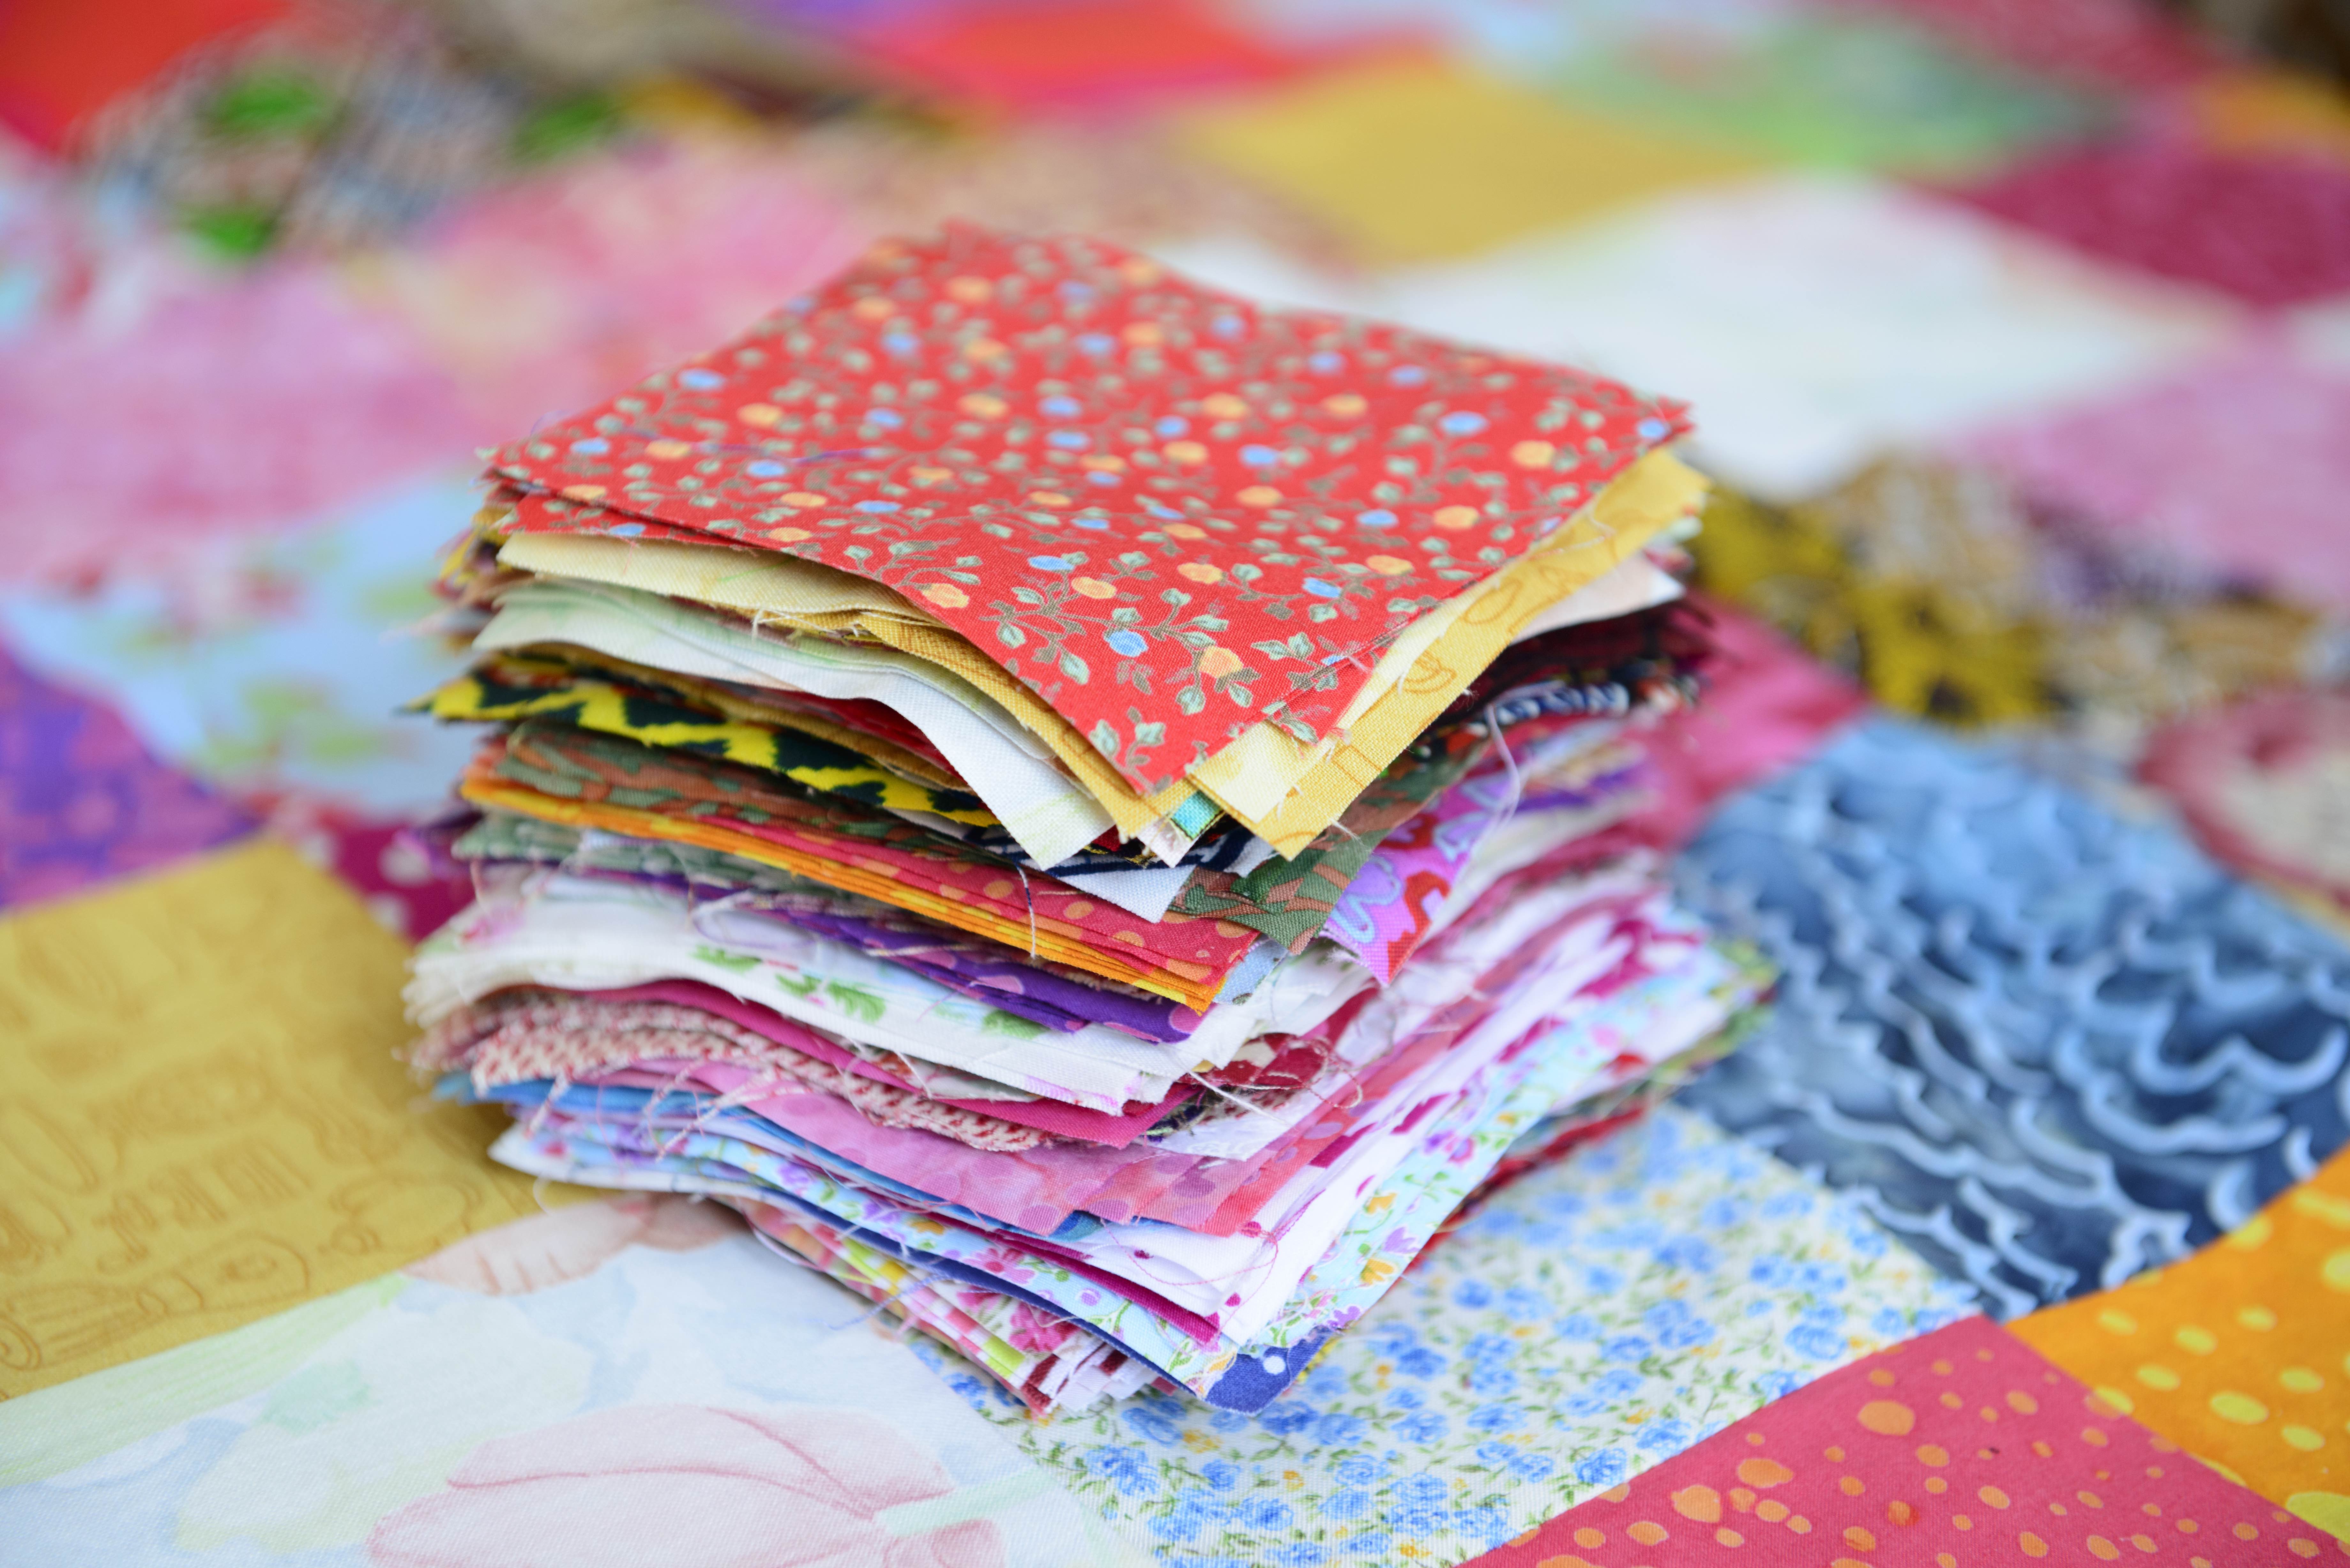
First off, let’s talk about starch. This might sound like an extra step, but trust me, it’s worth it, especially when cutting on the bias. Starching your fabric before cutting helps keep everything crisp and reduces fraying. Imagine trying to piece together soggy spaghetti – that’s what it’s like working with limp fabric. Starch gives your pieces some structure, and they’ll thank you for it.
Precision is Key
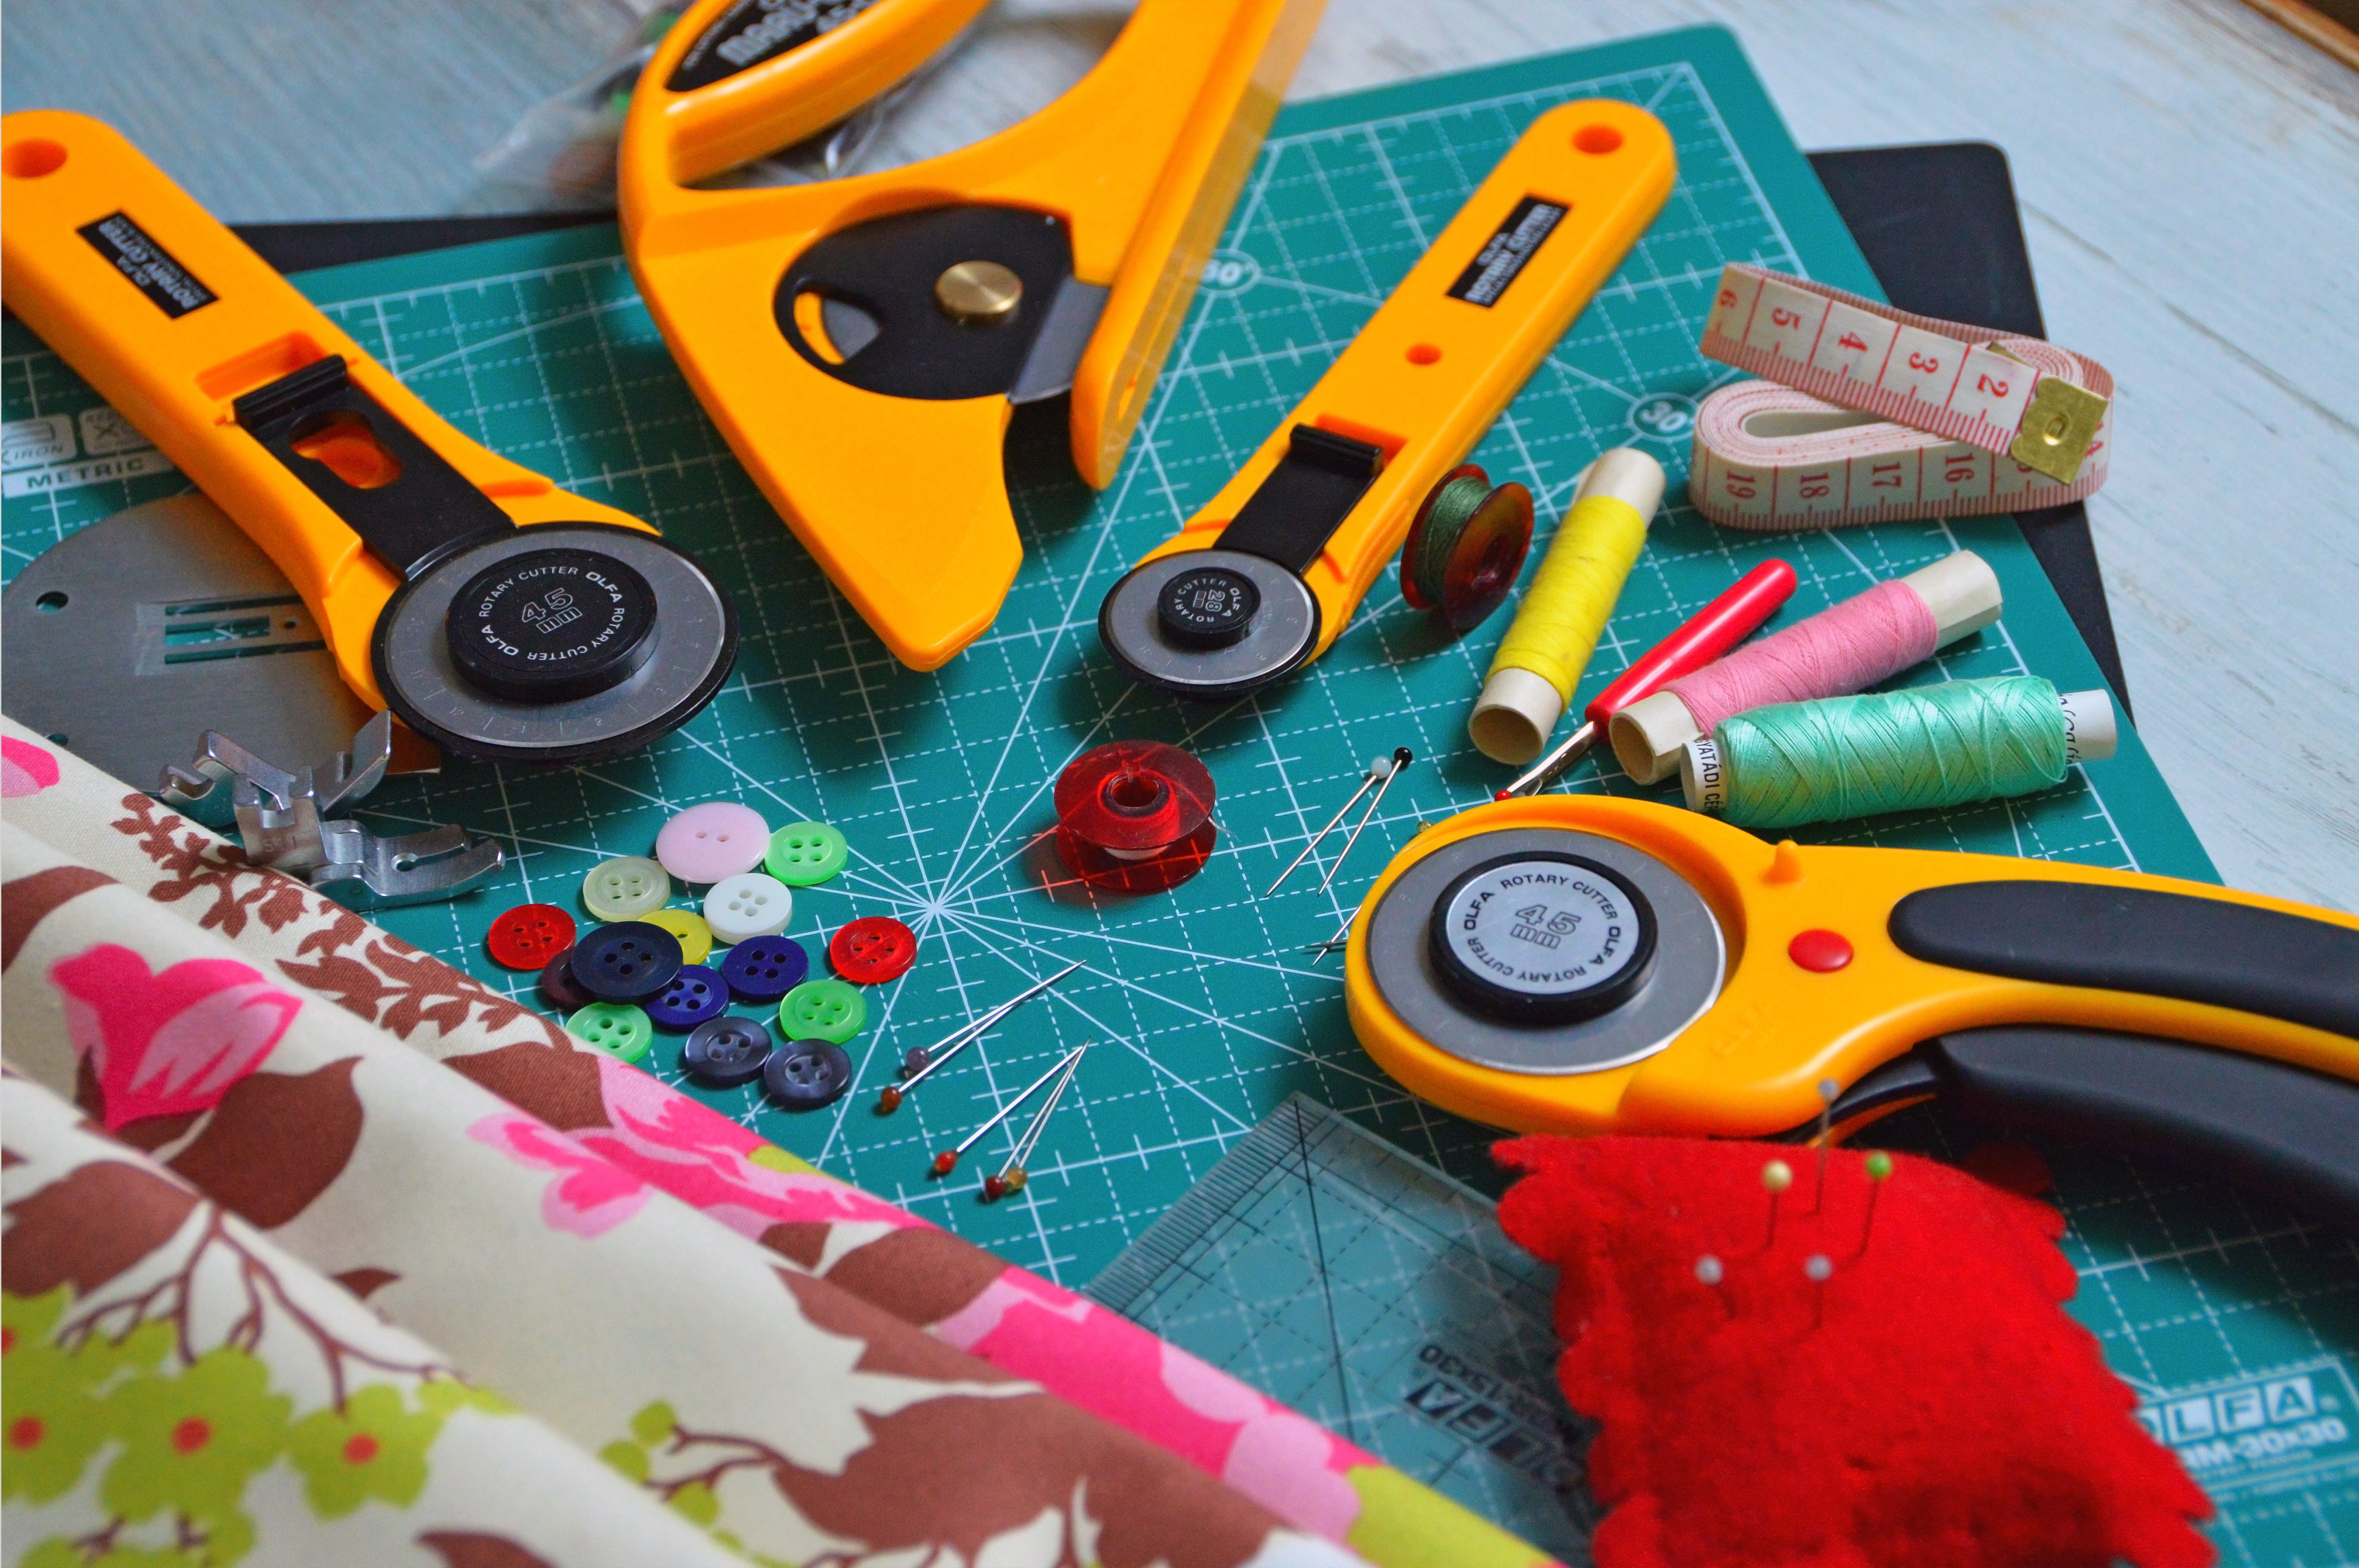
Next up, precision is key. Use a rotary cutter and a good ruler to ensure your pieces are cut accurately. I know, I know, it sounds basic, but you’d be surprised how a tiny deviation can throw off your whole project. Think of it like baking – a pinch too much salt and your cake’s a disaster. The same goes for quilting. Measure twice, cut once, and you’re golden.
The Scant Quarter-Inch Seam
Here’s a game-changer: the scant quarter-inch seam. What’s that, you ask? It’s a seam that’s just a hair less than a quarter-inch, and it’s a game-changer. This little adjustment compensates for the fabric taken up by the thread and the fold of the fabric, making your blocks come out the perfect size. It’s like magic – try it and see!
Pressing Matters
Pressing matters. Literally. Press your seams open or to one side. Often this is personal preference and there are arguments for both, but most importantly - press them!!
Chain Piecing
Ever heard of chain piecing? Chain piecing is when you sew pieces together in one continuous line without cutting the thread between them. This not only saves time but also keeps everything organized. Think of it like making a garland – you don’t cut each piece individually, right? The same goes for piecing.

Pinning Wisely
Let’s talk about pins. Some people are pin-happy, others avoid them like the plague. I say, use them wisely. Pinning your pieces before sewing can help keep everything in place, especially if you’re dealing with tricky angles or small pieces. Just don’t go overboard – too many pins can distort your fabric.
Sewing with a Leader and an Ender
One of the best tips I ever received was to sew with a leader and an ender. These are small scraps of fabric that you sew at the beginning and end of your chain piecing. They help prevent your machine from eating your fabric and keep your stitches neat. Plus, they’re a great way to use up those tiny scraps we all have lying around.
Choosing Your Thread Wisely
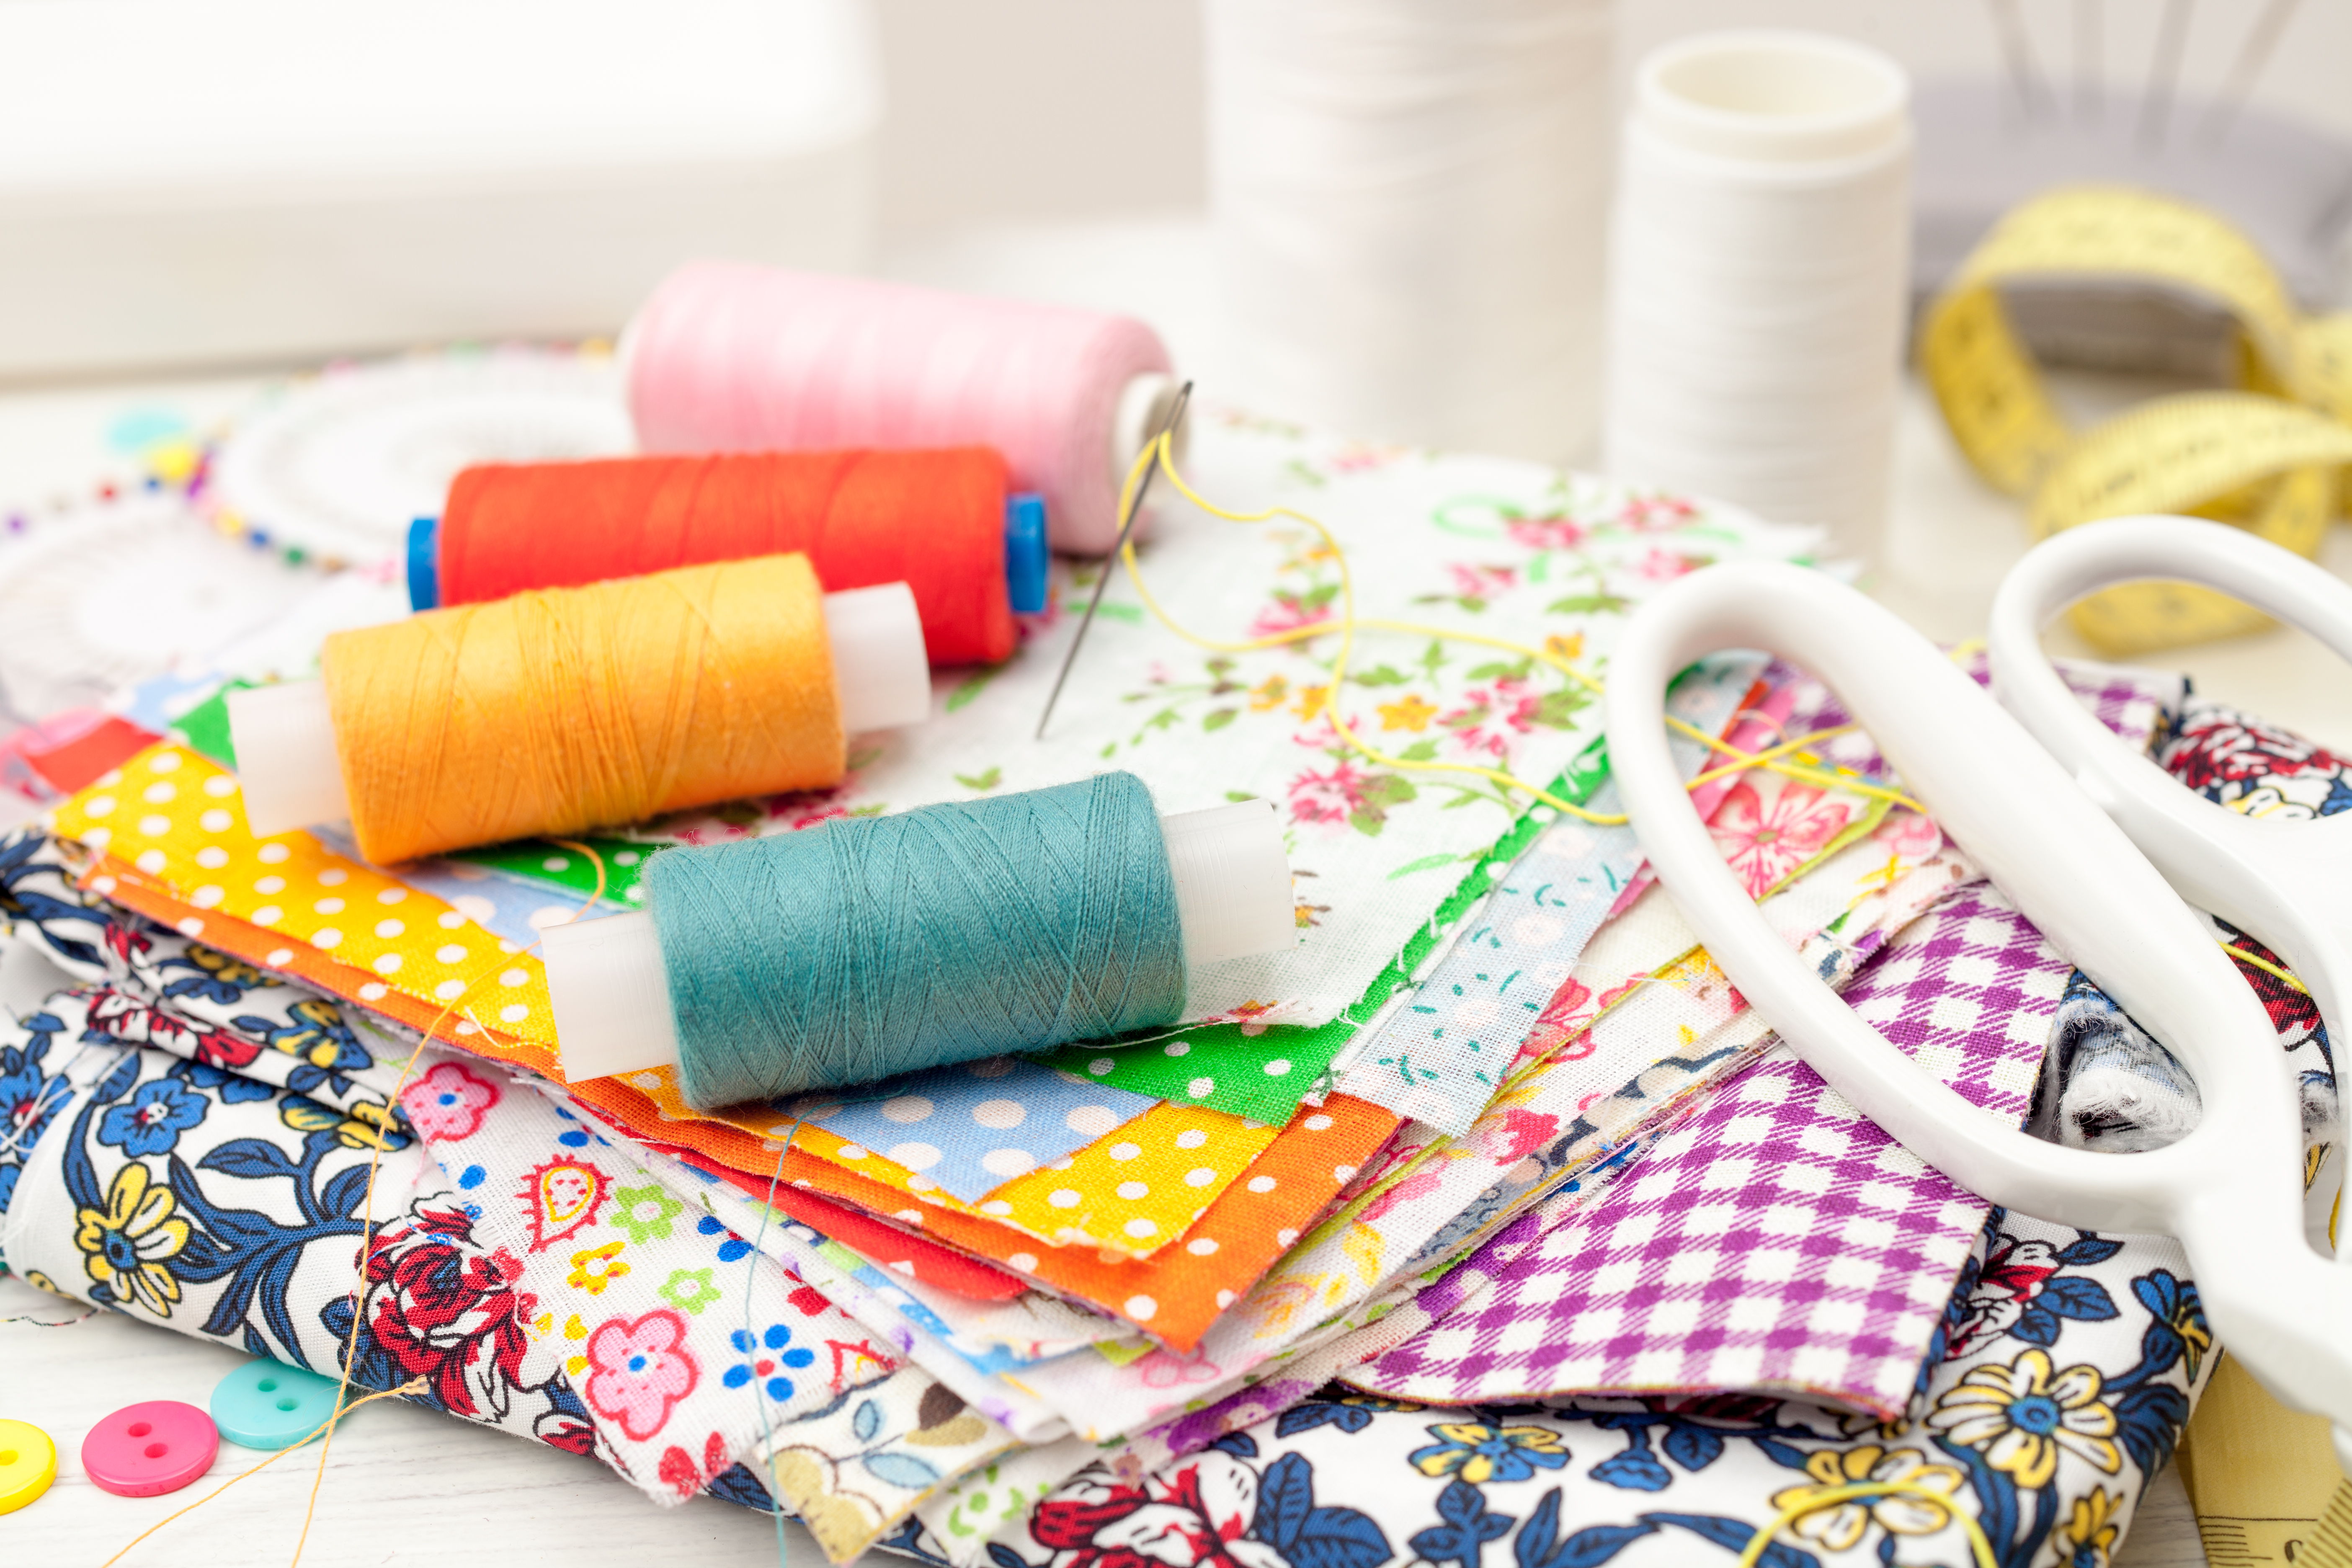
Let’s not forget about thread. Good quality thread can make a world of difference. Cheap thread breaks easily and can cause all sorts of headaches. Invest in good thread – your sanity and your sewing machine will thank you.
Take Your Time
Lastly, take your time. I know it’s tempting to rush through piecing so you can get to the fun part – quilting. Or is that only me 🤔🤔😂 But trust me, taking your time to piece accurately will save you loads of frustration later on. It’s like building a house – you need a strong foundation to achieve the best results in the end.
Bringing It All Together
There you have it – nine tips to take your piecing from meh to marvelous. Implement these and watch your quilts transform. And hey, if you try any of these tips, I’d love to hear about your experience. Send me a photo or share your story. Let’s make those seams sharp and those quilts stunning.
Happy quilting,
Lyndelle xo
BLOG
Sew Long, Pain! Hello to Comfortable Crafting for the Wise & Weary
Oh, the joy of sewing and quilting! There's something almost magical about transforming a piece of fabric into a quilt that warms the heart and lap. But, let's be honest - as the years tick by our bodies start sending us not-so-subtle reminders that we're not exactly spring chickens anymore. Cranky knees, grumbling backs, and those hands and wrists! And those eyes that could once thread a needle in the dark now sometimes struggle to find the thread 🧵
Well I've put together a few tips and tools to help you keep sewing and crafting without feeling like you've run a marathon.

A Comprehensive Guide To Quilt Wadding
When it comes to wadding for quilts, there are various options to consider, each with its own unique characteristics and purposes. It's important to choose the right wadding based on the desired outcome of your quilt project.
Let's take a closer look at some popular types:
5 Top Tips For Keeping Your Longarmer Happy!
I'm going to keep this short and sweet. If you want to keep your longarm quilter happy then you need to hop on over here and download my PDF.
It has all of my top tips for getting the best results when you take your quilt to be longarm quilted.
These are super simple things that are easy to do but have a big impact on the finished product.
Hit the button now to download my 5 top tips.

From Fabric Store Confusion to Longarm Love: My Journey into Longarm Quilting.
Hey there, fellow quilting enthusiasts!
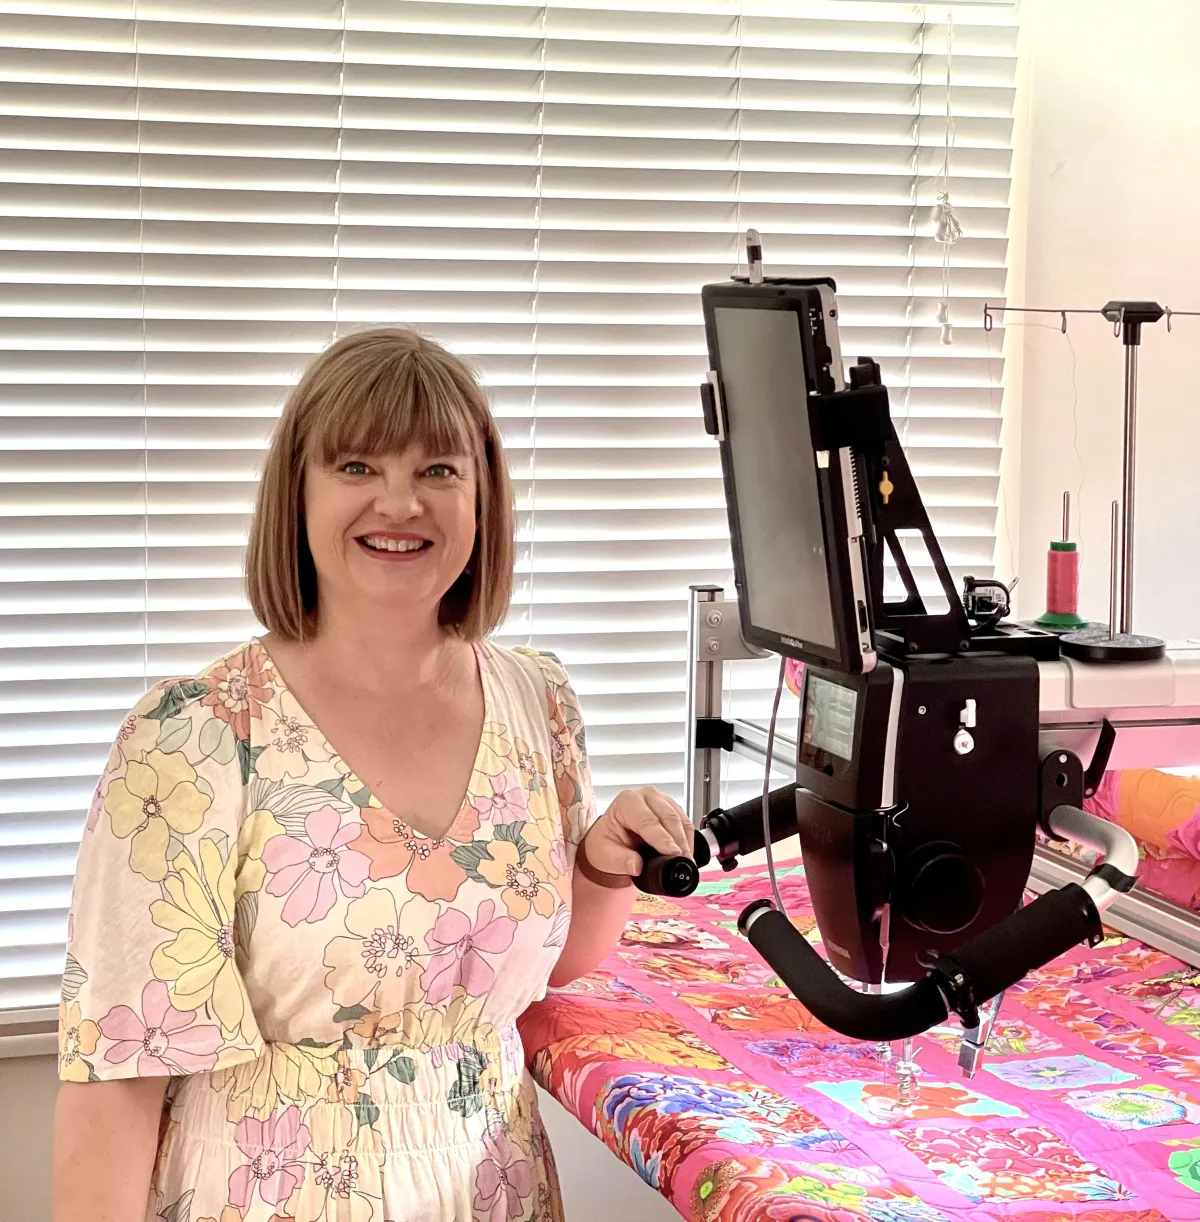
Today, I want to take you on a journey back to 2016, when I found myself working at a fabric store and stumbled upon the fascinating world of longarm quilting machines. Believe it or not, I had no clue what these magical machines were all about! But little did I know that this discovery would completely change the trajectory of my quilting passion and turn it into a thriving business. So let's kick back, grab a cup of tea, and dive into the story of how I got started with my longarm machine.
Wave Goodbye to Wavy Borders 👋
Hellooooo there, quilty friends! 😊
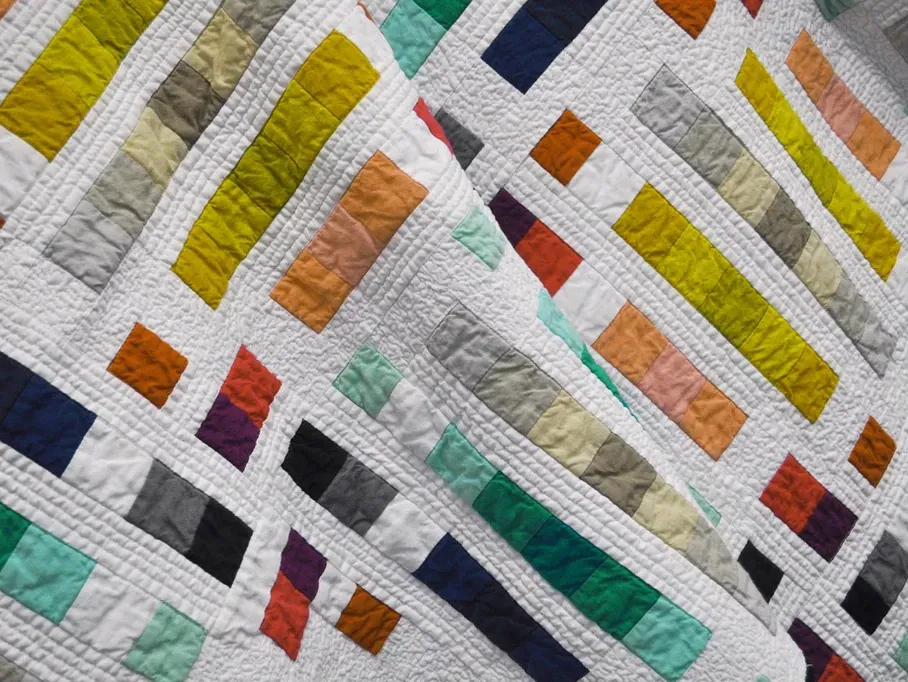
Today, I want to talk about something that can give longarmers nightmares... It's BORDERS! Oooh boy, get them wrong, and you're in for a world of hurt. All that excess fabric...what to do with it, am I right? Don't worry though, I'm here to help.
Essential Tools for Quilters: Achieve Great Results with My Top 3 Picks!
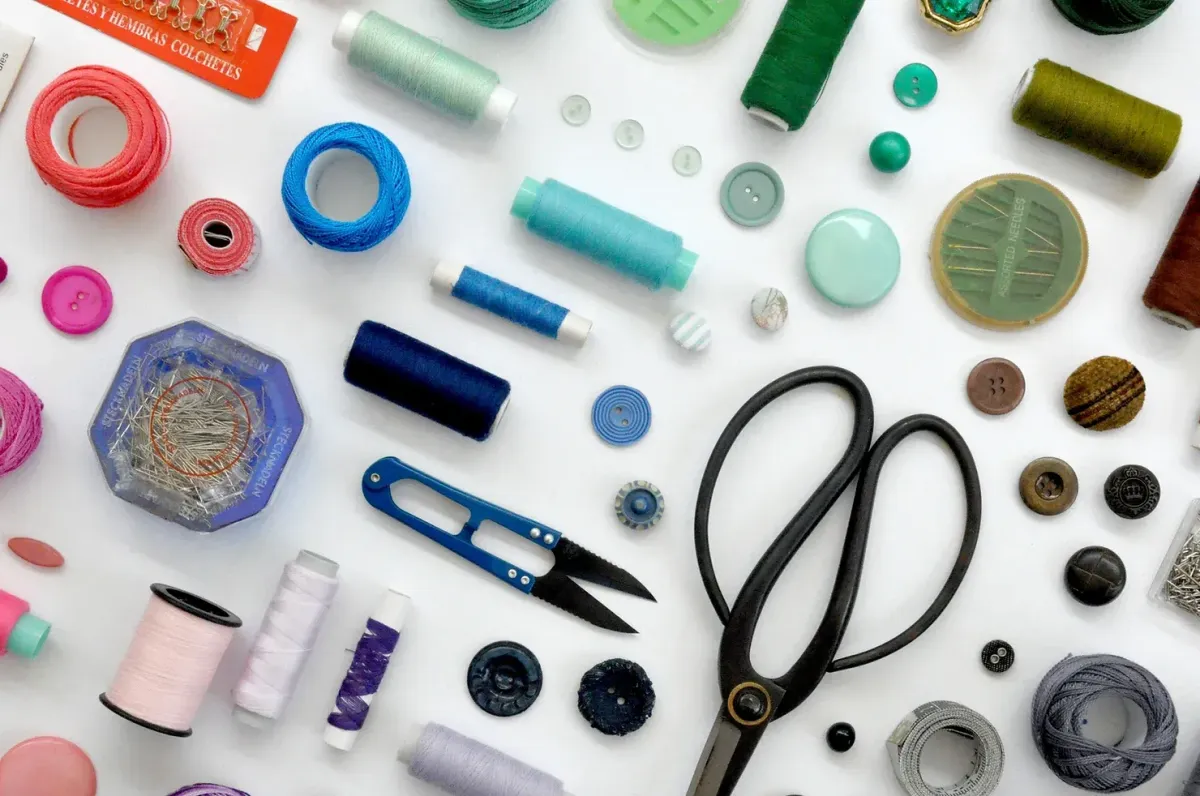
Hello fellow quilters! Today, I'm diving into the world of quilting tools to ensure you achieve the best possible outcome for your quilt projects. As many of you know, accuracy and precision play a vital role when it comes to quilting, especially if you're planning to send your quilt to a longarmer. So, without further ado, let's explore my top three must-have tools that will elevate your quilting game and help you achieve fantastic results!
App-solutely Essential: Exploring My 3 Most Used Phone Apps 📲
Hey there quilty friends! 🧵❤️
You know, running a business can be hectic at times. So, today I want to share a little secret with you...three of my most used apps on my phone that help me stay organized, boost my social media game, and make editing videos a breeze. These apps have been a game-changer for me, and I think they can be super useful for you too!

Longarm Quilting FAQ's
Longarm quilting is such a niche area to work in - lots of people are fascinated by the process and the machines so I thought I'd share some commonly asked questions with you all today!
1. What exactly is longarm quilting? While I'm sure most of you are familiar with what longarm quilting is, for the beginners out there it is the process of finishing off your quilt top by layering it with wadding and backing fabric and stitching some fancy designs to secure those three layers together!
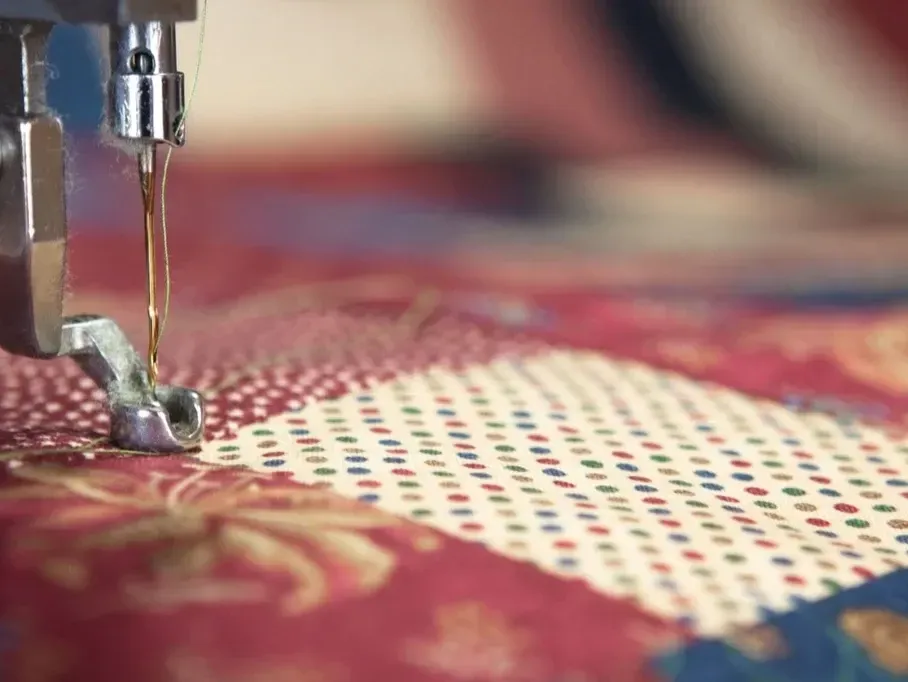
Everything you need to know about Quilt Backings!
Quilt backings can be an often overlooked part of your finished product. I can't stress the importance of having the right backing to ensure the best results for longarming your quilt.
SIZE - No matter what they say, bigger is better! When it comes to backing fabric anyway...
It is really important to have an extra 4-5" of backing on ALL SIDES of your quilt. For example, if your quilt is 60" square, ideally you will have a piece of backing that is 70" square.
My Top 3 Inspiring Podcasts for Creative Minds and Entrepreneurs
Welcome back to the blog! I wanted to share some podcast recommendations that have been keeping me inspired and entertained while I work. Whether you're a creative professional or an entrepreneur, these podcasts are sure to provide you with valuable insights, creative inspiration, and a dose of motivation. So, grab your noise-cancelling headphones and let's jump into my top three favourite podcasts.

©2016-2025 The Quilt Room
© 2016-2025 by The Quilt Room. Longarm Quilter and Quilting Services, Longarm Quilting Courses, QAYG Course Longarm Quilting Notion Templates,
T-Shirt Quilts, Memory Quilts, Memory Bears, located in Preston, Reservoir, Northcote,
Fairfield, Heidelberg, Thornbury, Coburg, Melbourne, Victoria, Australia.
All information and images provided on this website are the property of The Quilt Room and are not to be reproduced or copied without express permission.
